In manufacturing plants, accurate measurement and estimation of bulky and large quantity parts is very expensive and can only be checked randomly. With the continuous improvement of quality requirements, increasing pressure, especially from the automotive industry, requires a significant increase in the measurement ratio.
Let’s find out about the latest invention of Motoman and its effects on the industrial; automation process.
Automatic Measuring Unit
An automatic measuring unit from MQS AG in Ingolstadt now makes this possible. The system was formed together with a Yaskawa Motoman GP robot of high production and efficiency level. Many industrial products must meet particularly high standards and require precise and repeatable measurements in quality control.
However, although this can be achieved relatively easily, whereas achieving high-scale optimization and efficiency in security-related screws and measuring larger components is much more complicated. Considering that a conventional coordinate measuring machine or light belt projector takes up to two hours to accurately measure the car door. Similarly, the test piece must be removed during the production process, so the time spent in the process is already quite a lot.
Fast-Cycle Inspection
In this case, it quickly became clear that random inspections could not be used to measure such large components in a fast-cycle production process. However, this runs counter to the pressing needs of many industries to increase inspections to increase inspections with greater speed and reliability.

High Precision
The high precision expected by the coordinate measuring machine must be ensured in a significantly reduced cycle time and the automotive industry is committed to continuous quality control. The solution was based on robots called MANTIS, developed by MQS AG, a specialist in industrial metrology systems and services.
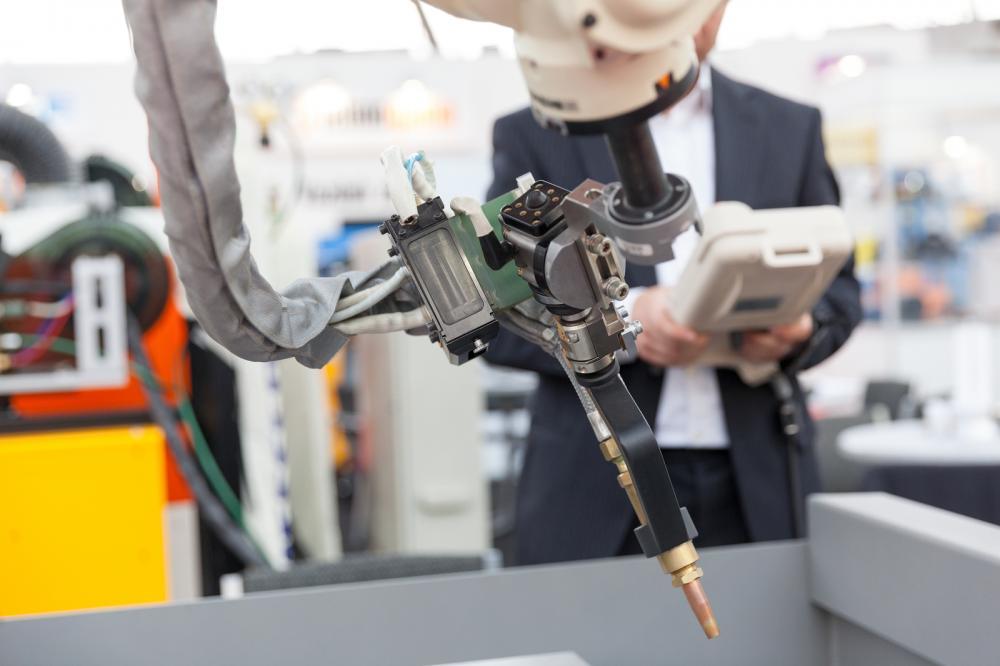
The complete turnkey unit is composed of a measurement system, which includes a measurement head and a camera; a handling robot equipped with a measuring head; and a rotary table for flexible placement of test pieces.
A cell called MANTIS camera placed over the cell. The measurement itself is performed by the measurement head, which is Scantech’s previous product, carefully scanning the inspected components under the guidance of a robotic arm.
Laser Types
There are three different lasers in operation. The camera permanently monitors the position of the measurement head, always knowing its location. In addition, the scanner is positioned at various marking points on the rotary table. This point cloud ensures that the measurement position can be accurately calculated after rotating or moving the sample. Automatic measurements are based on stored CAD data.
Scope of the MANTIS
MANTIS can integrate new technologies and expand the scope of existing methods for future use. Yaskawa Motoman was chosen for his closeness and excellent cooperation. It was suggested that the 6-axis Motoman GP series of robots designed for handling with high manoeuvrability. Furthermore, the hollow arm used for the internal wiring improves the stability of the dielectric cable, that is, to the measuring head. The advantages of this solution are less wear and tear and ease of maintenance and installation.
Finally, a Motoman GP12 robot is installed in the cell with a payload capacity of 12 kg, ideal for the measuring head due to its lightness and offers a wide range of 1440 mm. Due to the precise optical control of the position of the measuring head, the full level of positioning precision of the robot is not fully exploited. This is a solution for the factory of the future fully automated with robots and with measurement technology.
UsedRobotsTrade is a leading robotic parts supplier that offers Motoman, Mitsubishi robots, FANUC, and a range of other robots on sale. You can also buy welding robots and the best robot mechanical parts from them! Contact them for more information.
